 Ecommerce & Shopping
Budget-Friendly Choices: Elevating Your Kitchen with Affordable Appliance
Understanding Affordable Appliance Options
What Defines Affordable Appliance?
An affordable appliance is engineered to deliver value without compromising essential features. These appliances are often budget-friendly while maintaining functionality and appeal. Affordability can encompass price points under a certain threshold, but it also includes the long-term savings achieved through energy efficiency, warranty options, and overall performance. Essentially, an affordable appliance is not just about the initial cost but the overall value it delivers throughout its lifespan. As we explore these options, it becomes clear that Affordable appliance encompasses a wide range of products suitable for any budget-conscious consumer.
Benefits of Choosing Affordable Appliance
Opting for an affordable appliance presents several benefits that make them appealing to diverse consumers:
- Cost Savings: The most apparent advantage is the lower purchase price, which makes quality appliances accessible to a broader audience.
- Lower Operating Costs: Energy-efficient models help reduce monthly utility bills, enhancing overall savings.
- Versatility: Affordable appliances come in numerous models, enabling consumers to find the exact fit for their specific needs.
- Modern Features: Many budget appliances integrate contemporary features found in luxury models, such as smart technology or sleek designs, making them attractive without straining finances.
Common Misconceptions About Budget Appliances
There are several myths surrounding affordable appliances that can deter consumers from considering them:
- Quality Concerns: A prevalent assumption is that affordable appliances lack quality. However, many brands prioritize quality assurance and performance in more budget-friendly models.
- Limited Lifespan: While it’s true that some low-cost appliances may skimp on quality, many affordable products perform well for years with the right maintenance.
- Lack of Features: Contrary to popular belief, many budget appliances boast modern features similar to their expensive counterparts.
Key Features to Look for in Affordable Appliance
Energy Efficiency and Cost Savings
Energy efficiency is a critical feature to consider when looking for an affordable appliance. Appliances rated highly on the Energy Star program not only help reduce electricity bills but also contribute to environmental sustainability. Features like automatic shut-off and eco-modes can significantly enhance efficiency. Consumers should seek out models that provide detailed energy usage information, allowing for informed choices.
Durability and Performance Expectations
While price is a key consideration, performance and durability should not be overlooked. When shopping for affordable appliances, check for warranties that assure reliability. Those with a solid construction from reputable brands are often designed to withstand daily wear and better maintain performance over time. Reading consumer reviews can also guide potential buyers in comparing real-life experiences with different models.
Design Trends in Budget Appliances
Current design trends indicate that even budget appliances can be stylish and attractive. Manufacturers are increasingly offering options in various colors, finishes, and styles, allowing consumers to match their appliances with their home décor. Popular trends include sleek stainless steel, retro aesthetics, and smart features integrated into elegant designs, making affordable appliances not just functional but visually appealing as well.
Where to Buy Affordable Appliance
Online Retailers vs. Local Stores
Deciding whether to purchase from online retailers or local stores can impact your shopping experience. Online platforms often provide a wider selection and user reviews, making it easier to compare features and prices. Conversely, local stores allow for hands-on examination of the appliance before purchase, and sometimes offer immediate take-home options. It’s wise to explore both avenues to determine the best choice for your needs.
Comparing Prices: Tips for Smart Shopping
When it comes to buying affordable appliances, price comparison is essential. Utilize price aggregator websites or apps to see how different retailers stack up. Additionally, consider reaching out to multiple stores to negotiate prices or inquire about current promotions, as many retailers might be willing to offer price matches or discounts for bulk purchases.
Utilizing Discounts and Promotions
Taking advantage of discounts and promotional events during holiday sales or clearance events is key to scoring great deals on affordable appliances. Signing up for newsletters or loyalty programs can provide access to exclusive offers and timely information about upcoming sales. Furthermore, manufacturers may provide rebates or special financing options, enabling you to make a wise budget-based decision.
Maintaining Your Affordable Appliance
Regular Cleaning and Care Tips
Regular maintenance is essential to extend the lifespan and performance of any appliance. Create a cleaning schedule and utilize gentle solutions to wipe down surfaces, keeping them free from dust and grime. For appliances such as refrigerators and ovens, pay attention to specific maintenance tasks as recommended by the manufacturer’s guidelines to prevent unnecessary wear and tear.
Extending the Lifespan of Your Appliances
Apart from regular cleaning, monitoring the appliance’s performance can significantly extend its lifespan. Ensure proper ventilation around appliances, avoid overcrowding, and promptly address any minor repairs rather than letting them develop into more significant issues. Following the usage guidelines provided can also play a pivotal role in maintaining functionality over the years.
When to Repair vs. Replace
Determining whether to repair or replace an appliance can be a challenging decision. A general rule of thumb is to repair if the cost of the repair is less than half the cost of a new appliance, especially if the appliance is relatively new. However, if performance issues are frequent or repair costs are high, investing in a replacement may be more economical in the long run.
Real-Life Success Stories with Affordable Appliance
Transforming Small Spaces Efficiently
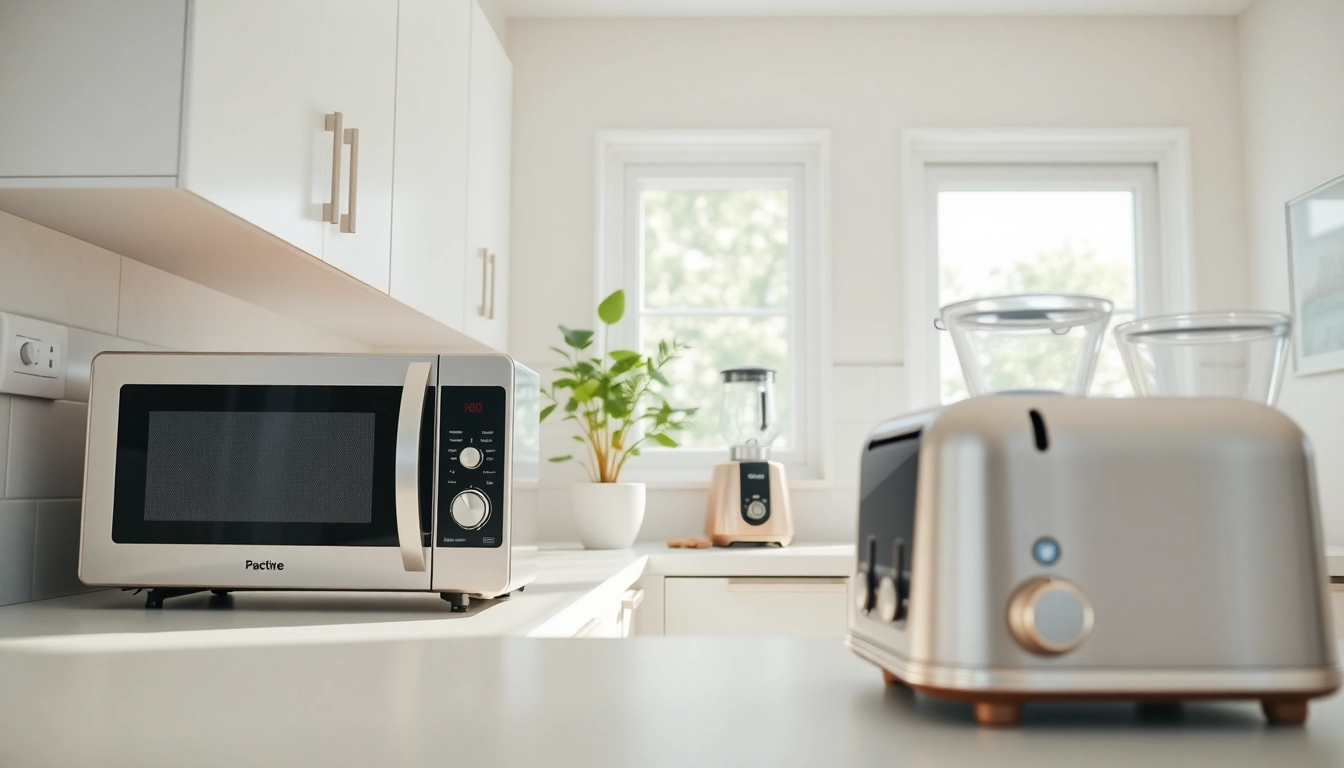
Numerous homeowners have successfully utilized affordable appliances to make the most of limited space. Compact designs of budget refrigerators, microwaves, and cooktops prove beneficial in tiny apartments. Success stories highlight how thoughtful organization and space-efficient appliances create functional and aesthetically pleasing environments.
Sustainable Living with Affordable Appliance
Many consumers are opting for affordable appliances to embrace sustainable living. These appliances often come with eco-friendly features that save energy and reduce waste. Success stories abound of families who significantly cut down on their carbon footprint without overspending, just by implementing budget appliances that align with eco-conscious lifestyles.
Testimonials from Satisfied Customers
Feedback from customers often reveals how affordable appliances exceeded initial expectations. Customers frequently share stories about discovering appliances that not only fit their budgets but also performed better than anticipated. Many highlight satisfaction with the reliability and functionality of their purchases, reinforcing the notion that affordable doesn’t equate to inferior.
FAQs about Affordable Appliance
What are the advantages of choosing affordable appliances?
Affordable appliances offer significant cost savings, high-energy efficiency, and access to modern features without straining your budget.
Are affordable appliances less reliable than higher-priced ones?
Not necessarily. Many affordable appliances come from reputable brands and can offer reliability and durability if maintained properly.
How can I ensure I’m buying an energy-efficient appliance?
Look for appliances with Energy Star ratings, which indicate they meet energy efficiency standards, saving you money on energy bills.
What maintenance is essential for affordable appliances?
Regular cleaning, timely repairs, and following manufacturer guidelines will help extend the lifespan and functionality of your appliances.
When should I consider replacing an affordable appliance?
Consider replacing an appliance if repair costs exceed half the cost of a new one, especially if performance issues are frequent.